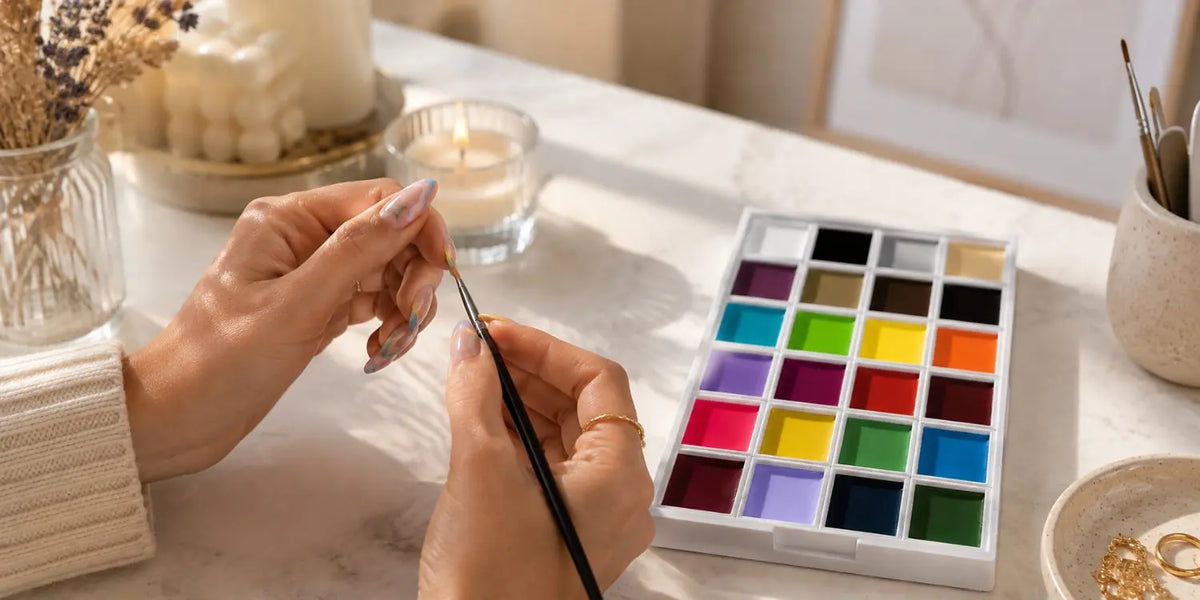
What is pat gel and how do you use it for the most beautiful nail art?
What exactly is pat gel?
Okay, let's get straight to the point: pat gel, also known as painting gel, is your new bestie when it comes to detailed and super neat nail art! Imagine a nail gel that isn't thin and liquid, but rather nice and thick and creamy, packed with color pigment. The idea is that you don't so much 'paint' this gel with a brush, but rather dab or 'pat' it onto your nail to create the most impressive 3D effects or fine lines. Think of super detailed designs that you can hardly achieve with regular gel polish. Pat gel is truly next-level for anyone who loves nail art!
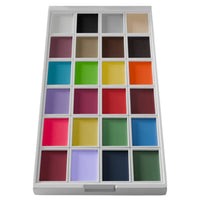
The benefits of pat gel: why you should try it
Why should you add pat gel to your nail routine? Well, the benefits are pretty amazing:
- Super concentrated pigment: One layer is often enough for an intense color. No more hassle with multiple opaque layers!
- Thick consistency: This is the game changer! Due to the thick texture, the gel stays exactly where you apply it. It doesn't run, allowing you to create super neat lines, swirls, or even small 3D elements without it becoming a mess. Ideal for, for example, relief designs.
- No sticky layer after curing: Many pat gels do not leave a sticky layer after curing, which means you can immediately continue with your design or apply a topcoat.
- Versatile: Whether you like minimalist lines, abstract shapes, or intricate patterns, pat gel can do it all.
How to use pat gel for the most beautiful designs?
Pat gel is surprisingly easy to use, even if you're not a pro. Here's a step-by-step guide to help you get started:
Step 1: Preparation is key
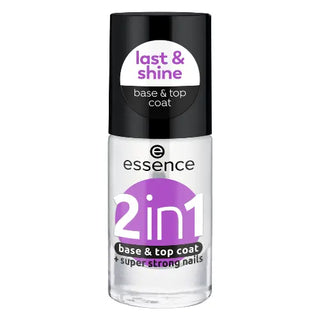
Make sure your nails are well prepared. That means cleaning, filing, pushing back cuticles, and applying a basecoat and curing it under a LED/UV lamp. Then apply your desired base color gel polish and cure it as well.
Step 2: Time to 'pat'!
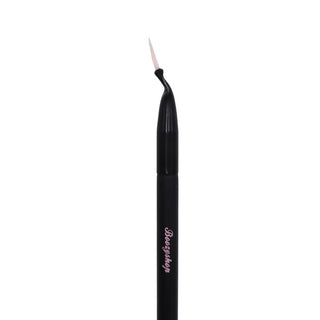
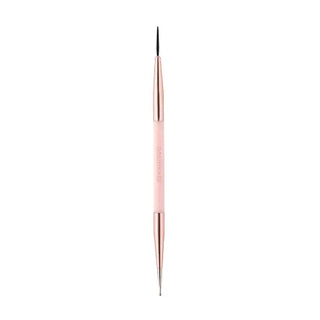
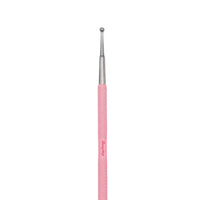
Take a small amount of pat gel on a thin nail art brush or dotting tool. Now comes the fun part! Instead of spreading the gel, gently dab or 'pat' the gel onto your nail. This technique allows you to precisely place the gel and create the desired thickness and details.
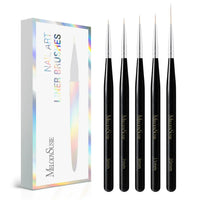
- For fine lines: Use a super thin liner brush and carefully draw the lines. The thick consistency ensures that the line remains beautifully crisp.
- For 3D effects: Apply the gel in small mounds or stripes and slowly build it up to the desired relief. The gel stays in place nicely and doesn't sag.
- For abstract designs: Experiment with dotting tools or special brushes to create different textures and shapes.
Make sure you work with small amounts; you can always add more. And don't forget to clean your brushes in between with a suitable cleaner.
Step 3: Curing and finishing
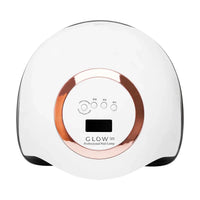
Once you're happy with your design, it's time to cure the pat gel under a LED/UV lamp. Check the instructions for your specific pat gel for the exact curing time. This is usually between 30 and 60 seconds in an LED lamp or 2 minutes in a UV lamp.
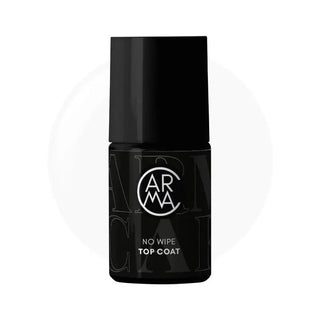
After curing, you can optionally apply a topcoat over your entire nail to protect your design and add extra shine. Cure this as well and you're ready to shine!
Boozyshop tips for the best results
- Practice makes perfect: Start with simple designs and work your way up. You'll see how quickly you become more skilled!
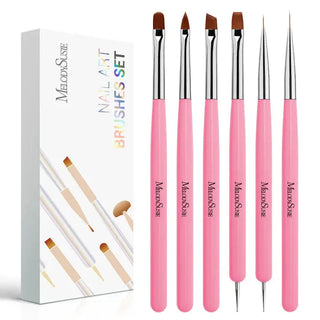
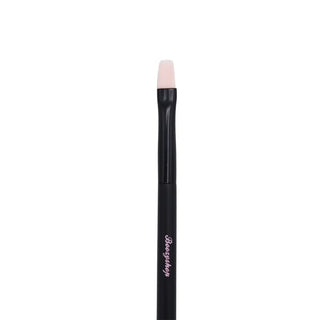
- Good tools: Invest in a few good nail art brushes. A thin liner brush and a dotting tool are essential for pat gel.
- Less is more: Work with small amounts of gel. It's easier to add a little than to remove too much.
- Experiment: Try different colors and combine pat gel with other nail art products, such as glitters or foils.
Pat gel opens up a world of creative possibilities for your nails. So what are you waiting for? Dive into the world of detailed nail art and unleash your creativity with this fantastic gel!
Pro-tip: did you create a design and aren't completely satisfied yet? Then don't cure it! As long as the gel hasn't been under the lamp, you can simply remove it and start over.
shop this article
All the products from this article.