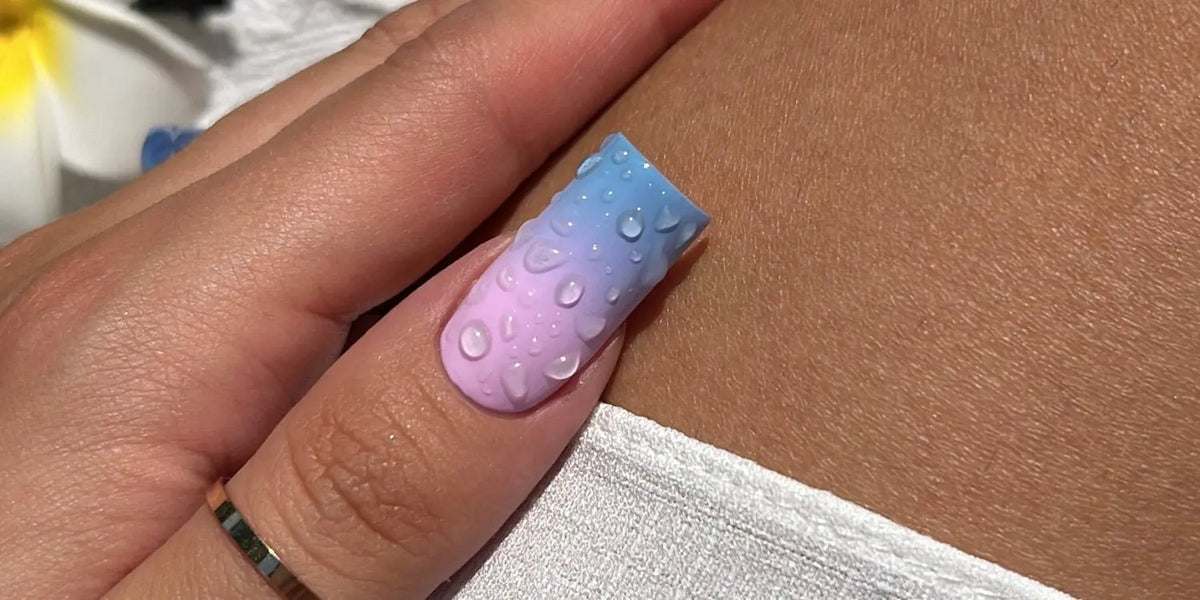
Water drops nails trend with the MAKEAR Scratch Base
What are water drops nails?
You've probably seen them on TikTok or Instagram: nails that look like they have tiny water droplets on them. This is the super popular water drops nails trend! It gives your manicure a playful, fresh, and unique look that's perfect for any season. The great thing is that it looks complicated, but with the right product, it's actually surprisingly simple to create. And that's where our secret weapon comes in: MAKEAR Scratch Base!
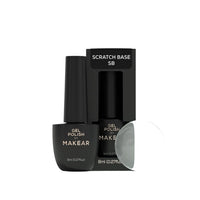
MAKEAR Scratch Base: your secret weapon
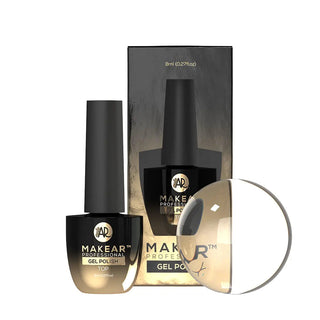
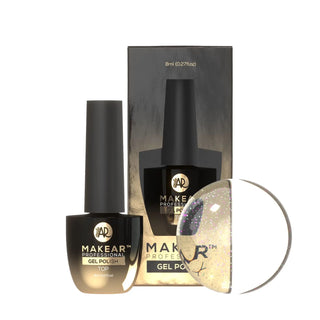
Okay, let's be honest: many trends seem more complicated than they are. But for water drops nails, there's one product that truly makes a difference and makes the process super smooth. That's the MAKEAR Scratch Base. This special base coat is designed to create a unique effect where the topcoat beautifully breaks apart into those characteristic water droplet shapes. Without this base, it's much harder to get those perfect, round drops you crave.
The formula of MAKEAR Scratch Base ensures that the topcoat you apply over it doesn't stay smooth, but retracts. This chemical trick causes the separation and creates the illusion of water droplets. Genius, right? It's really a must-have if you want to execute this trend perfectly.
How to use: create water drops nails step-by-step
Ready to get started? With these simple steps, you'll conjure up stunning water drops on your nails in no time:
- Step 1: Prepare your nails. Always start with clean, filed nails. Gently push back your cuticles and thoroughly degrease your nails. If desired, apply a primer or a regular base coat and cure it under a UV/LED lamp. Prepare nails
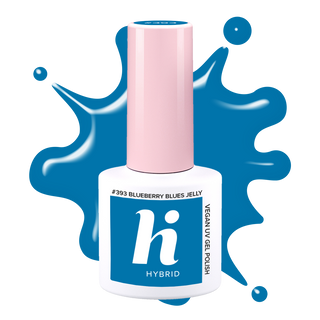
- Step 2: Color of your choice. Paint your nails with a Gel polish in the color you like. This will be the background color of your water drops, for example, go for a nice summer color or an eye-catching ombre! Cure the gel polish well in the lamp. You can optionally apply a second layer for extra coverage and cure that as well.
- Step 3: The magic of MAKEAR Scratch Base. Now apply a thin, even layer of the MAKEAR Scratch Base over your colored gel polish. This is the crucial step! Make sure the layer isn't too thick, but covers all areas. Then cure this layer under your UV/LED lamp.
- Step 4: The water drops appear. Immediately after curing the Scratch Base, apply a layer of topcoat (preferably a no wipe topcoat for the best effect). You'll see the topcoat almost immediately begin to 'separate' and those beautiful water droplet shapes emerge. Give it some time to spread naturally. The longer you wait (within reasonable limits, of course), the clearer the drops will become.
- Step 5: Cure and admire. Once you're happy with the water drop effect, thoroughly cure the topcoat under your UV/LED lamp. And voilà! Your nails are ready to shine with the trendiest water drops look.
Tips for the perfect water drop effect
- Thickness of the layers: Make sure your layers of gel polish, MAKEAR Scratch Base, and topcoat aren't too thick. Thin, even layers give the most beautiful and controlled effect.
- Don't wait too long: Apply the topcoat immediately after curing the Scratch Base. This gives the topcoat the best chance to react and spread beautifully.
- Experiment with topcoats: While a no wipe topcoat often works best, you can always test with other types to see which effect you like most.
Ready to rock those water drops?
The water drops nails trend is not only stunning but also super fun to create yourself. With a little practice and the magical MAKEAR Scratch Base, you'll transform your nails into a true work of art. What are you waiting for? Dive into the world of water drops and let your creativity run wild! Share your creations with us and show us how you rock this trend.
Still looking for the right products? Check out our collection of Gel polish and topcoats to complete your perfect water drops look!