


Lifting starts with your prep
Gel polish that comes loose along the edge is called lifting. As soon as that happens water gets underneath and the rest follows within a few days.
Almost everyone blames the polish or the lamp. In practice the cause sits in the five minutes before: gel polish doesn't stick to skin, it doesn't stick to dust and it doesn't stick to oil. All three are gone with a few simple steps.
Step 1: get the cuticle off the nail plate
This is the step most people skip. On your nail plate lies a thin layer of dead skin that grows out from your cuticle. Paint over it and your polish is attached to a bit of skin instead of to your nail.
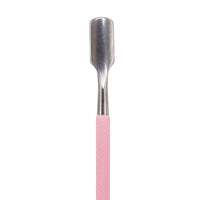
Push your cuticles back with a pusher from cuticle tools and gently scrape that layer away. If it sits tight, use a cuticle remover first.
Step 2: shape and length, in this order
File your nails to length and into shape before you start applying, not after. Use a file from nail files and work in one direction.
Step 3: take the shine off
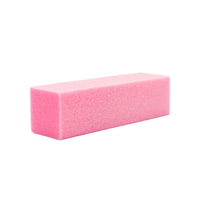
A shiny nail is a smooth nail and nothing sticks to that. Go over it lightly with a buffer until the shine is gone, no further. You are not sanding and your nail should not get thinner from it.
Then wipe all the dust away. Dust under your base coat gives you exactly the same problem as a bit of skin.
Step 4: degrease, and then stop touching
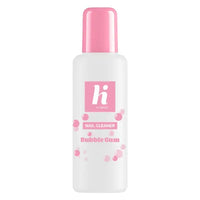
Wipe your nails with a cleanser or a dehydrator. That takes off the last of the oil and moisture.
After that, don't touch your nails with your fingers and skip the hand cream. The oil from your fingertips is enough to make one nail lift.
Step 5: primer, if your nails stay oily
If you naturally have an oily nail plate, or it always lifts in the same spot, use an acid-free primer. That is an extra bonding layer between your nail and your base coat. On dry nails you don't need it.
While you apply: thin, with a margin, and cap the edge
- Work in thin layers. A thick layer doesn't cure properly on the inside and pulls at the edges while it cures.
- Keep about a millimetre away from your cuticle and the side walls. Polish on your skin always lifts.
- Cap the free edge: run every layer along the tip of your nail as well. That seals the side where water would otherwise get in.
- Cure every layer for the time the brand states. Not shorter, and with a lamp that matches your gel polish.
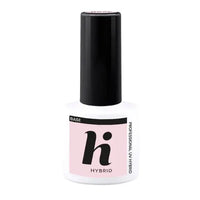
Always start with a base coat and finish with a top coat. The base gives you adhesion, the top gives shine and protection. They are not interchangeable.
Five mistakes you're probably making
- Just showered or done the dishes: your nail plate has taken on water and shrinks again as it dries. Wait half an hour.
- Hand cream or cuticle oil right before you apply. Do that afterwards.
- Layers that are too thick, especially with opaque colours.
- Applying over an old layer that is already lifting somewhere.
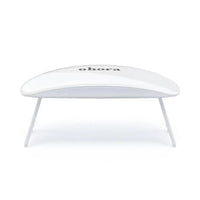
- A lamp with worn bulbs or too little power for the gel polish you are using.
If you're unsure about your lamp, look at the curing time your gel polish asks for and whether your lamp reaches it.
When it isn't down to you
Some people simply have an oilier nail plate or nails that flex a lot, and then gel polish stays on for less time no matter how neatly you work. Medication and having your hands in water a lot play a part too. A primer and slightly shorter nails help most in that case.
If it keeps going wrong on one particular nail, look at that one spot: there is usually still skin there, or the buffer just missed it.
In short
- Push the cuticle back and take the dead skin off the nail plate
- Buff matte, dust off, degrease, then touch nothing
- Thin layers, a millimetre of margin, cap the free edge
- Cure for the time the brand states
- Oil and cream only when you're done
Everything for prep is in nail prep. Looking for a new colour? Browse all gel polish.